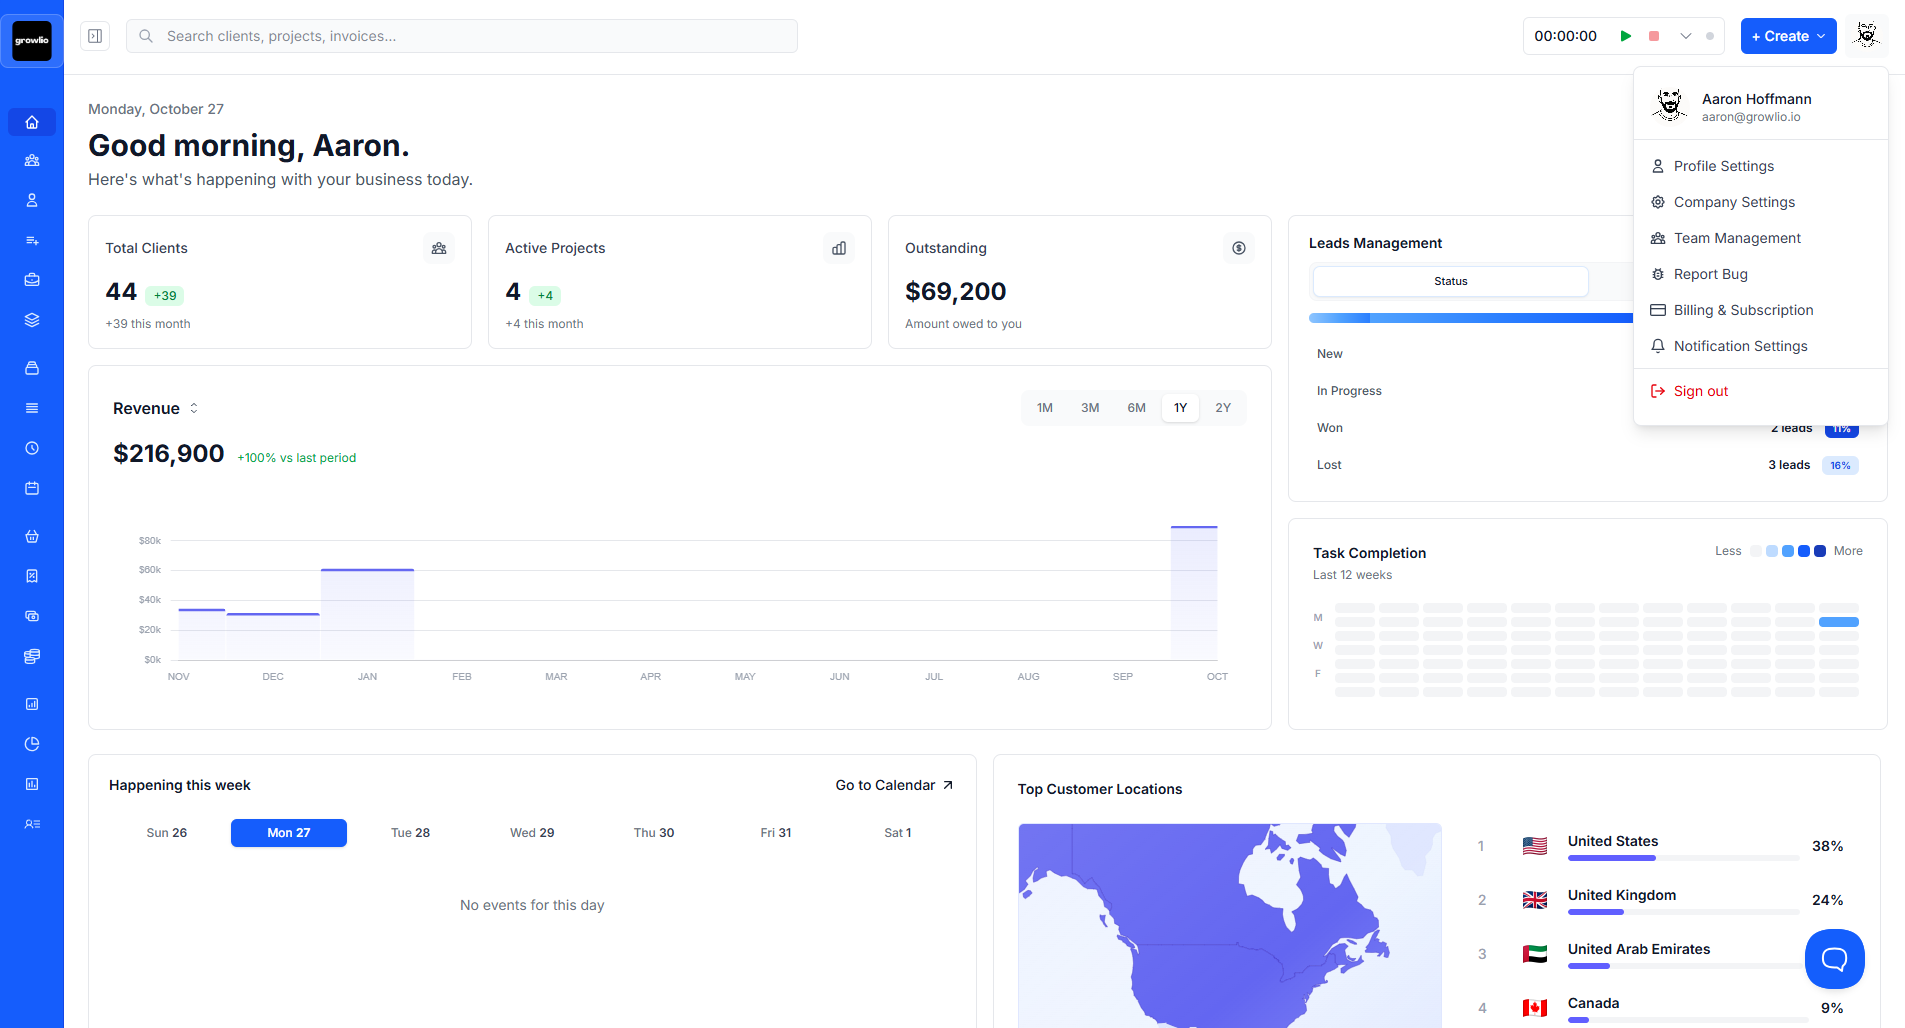
Configure Company Settings
Configure your Company Settings
Summary: Customize your organization's settings to match your business needs and establish consistency across your workspace.
Overview
Properly configured company settings ensure growlio works seamlessly for your team. These settings control everything from visual branding to operational preferences, affecting how documents look, how data displays, and how team members interact with the platform. This comprehensive guide helps you optimize each setting for your business.
Prerequisites
- Owner or Administrator role
- Company branding assets (logo, colors)
- Completed business onboarding
- Understanding of your business requirements
How to Configure Company Settings
Step 1: Access Organization Settings
Click your organization name in the top navigation, then select "Settings" from the dropdown. This opens the complete settings panel where you'll configure all organizational preferences.
Step 2: Update Company Information
In the General tab, verify and update your business name, industry, address, and contact information. Ensure all details are accurate as they appear on client-facing documents.
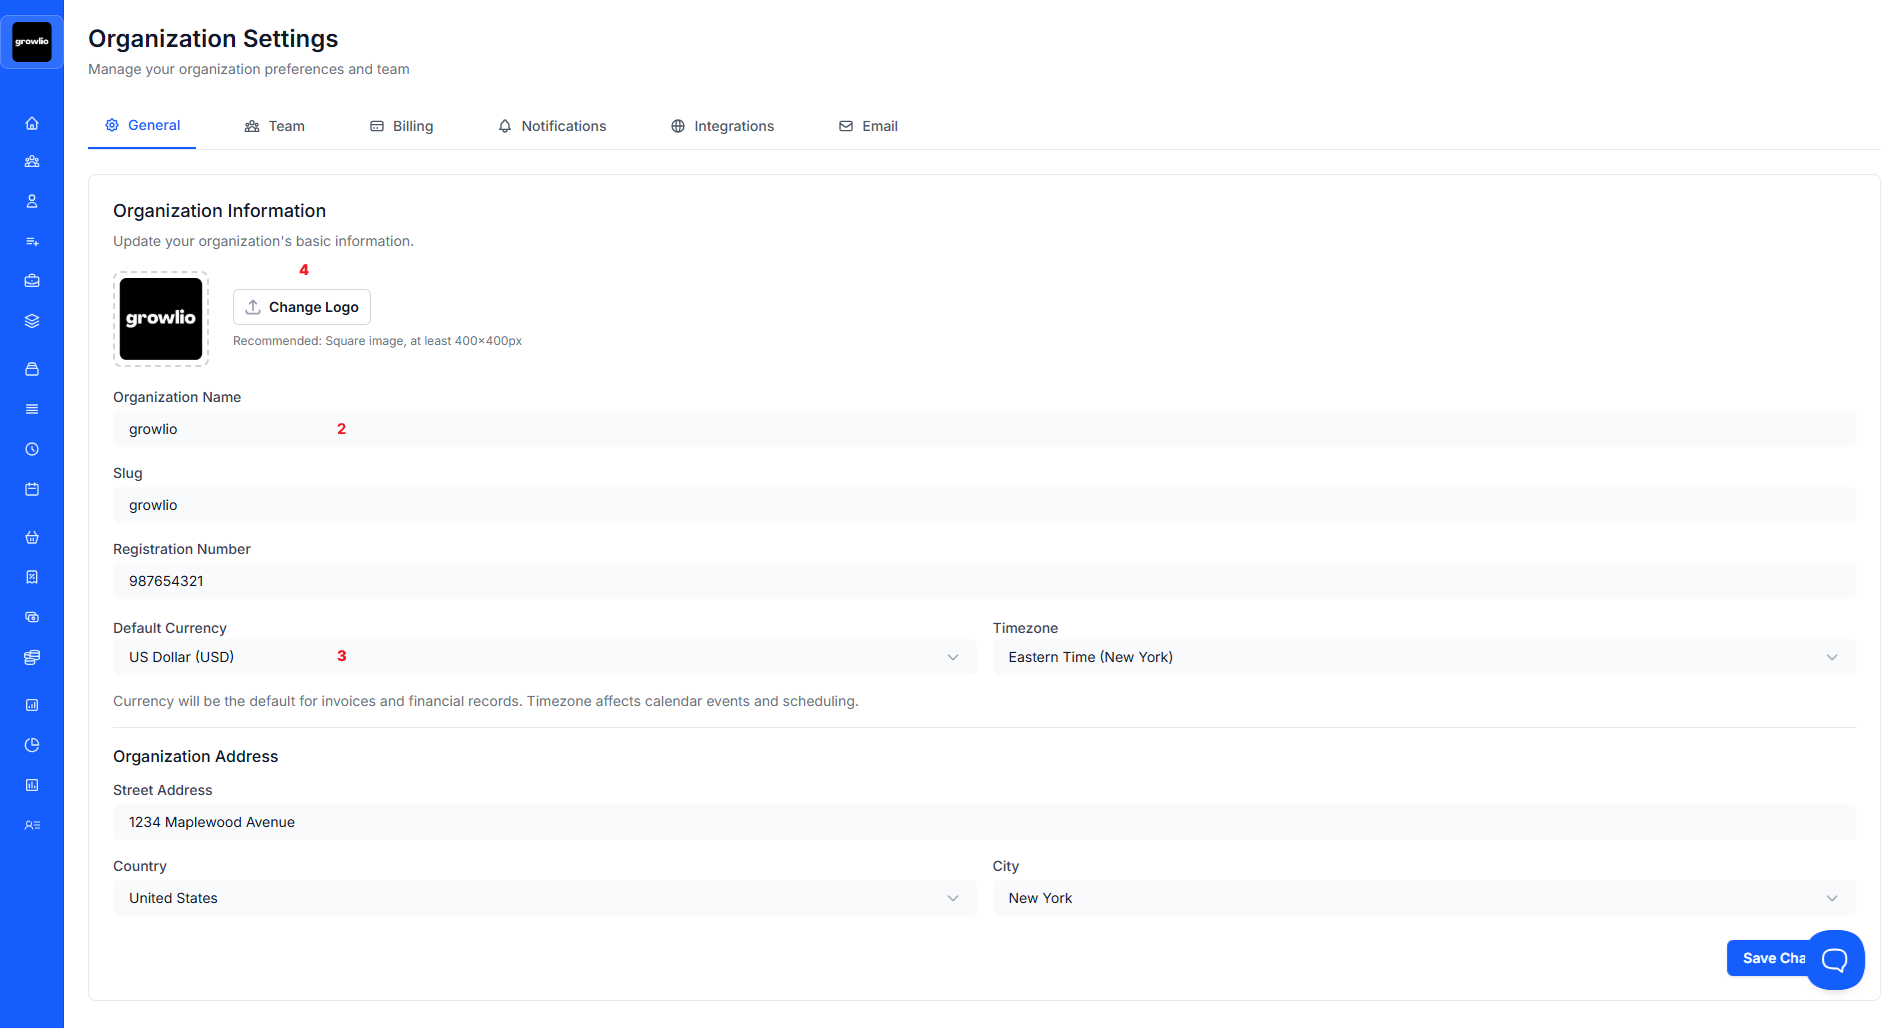
Tip: Use your legal business name exactly as registered to maintain professionalism and legal compliance.
Step 3: Configure Regional Preferences
Set your timezone, date format, and primary currency. These settings affect how information displays throughout growlio and on all generated documents.
Step 4: Upload Company Logo
Navigate to the Branding section and upload your company logo. Use a high-resolution PNG file with transparent background for best results on proposals, contracts, and invoices.
Tip: Recommended logo size is at least 400x400 pixels in PNG format. Avoid JPG as it may show compression artifacts.
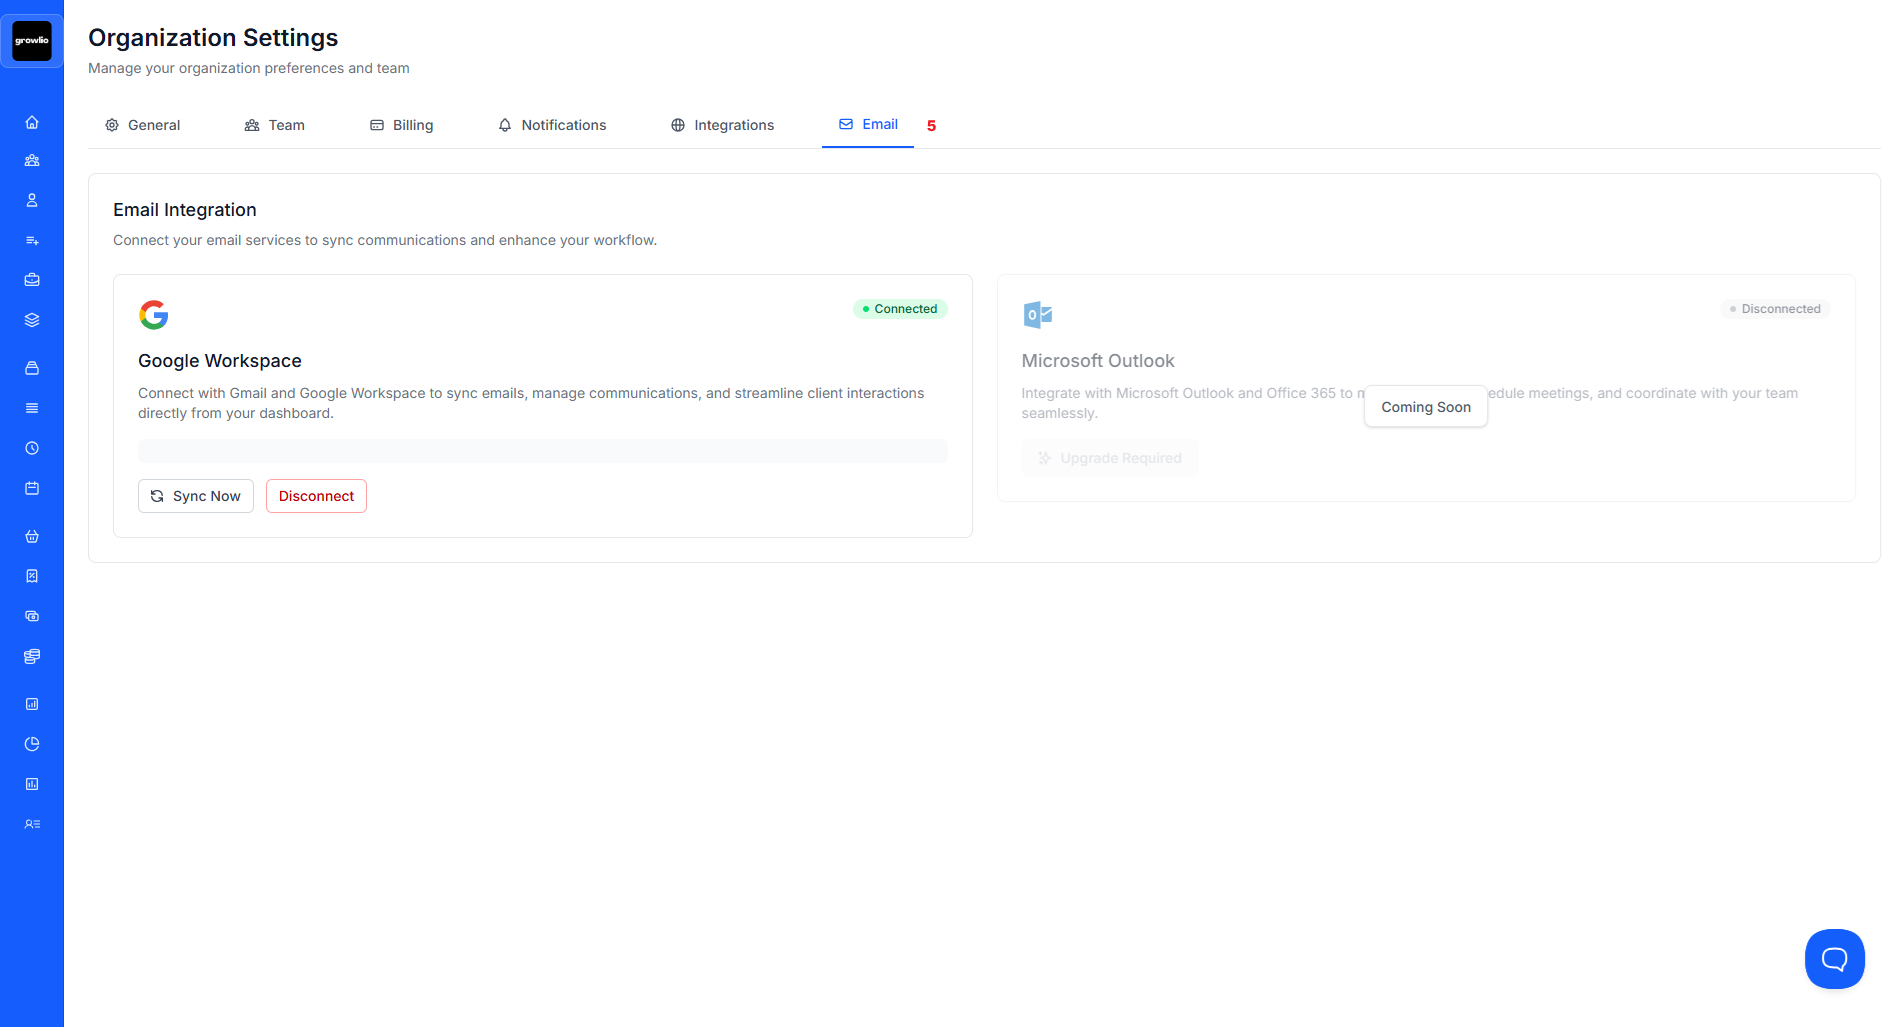
Step 5: Set Up Email Preferences
Configure sender name, reply-to address, and default email signature. Ensure emails sent from growlio reflect your brand and provide recipients with clear contact information.
Step 6: Configure Notification Settings
Choose which events trigger notifications for your team. Balance keeping everyone informed with avoiding notification overload. Set preferences for email, in-app, and push notifications.
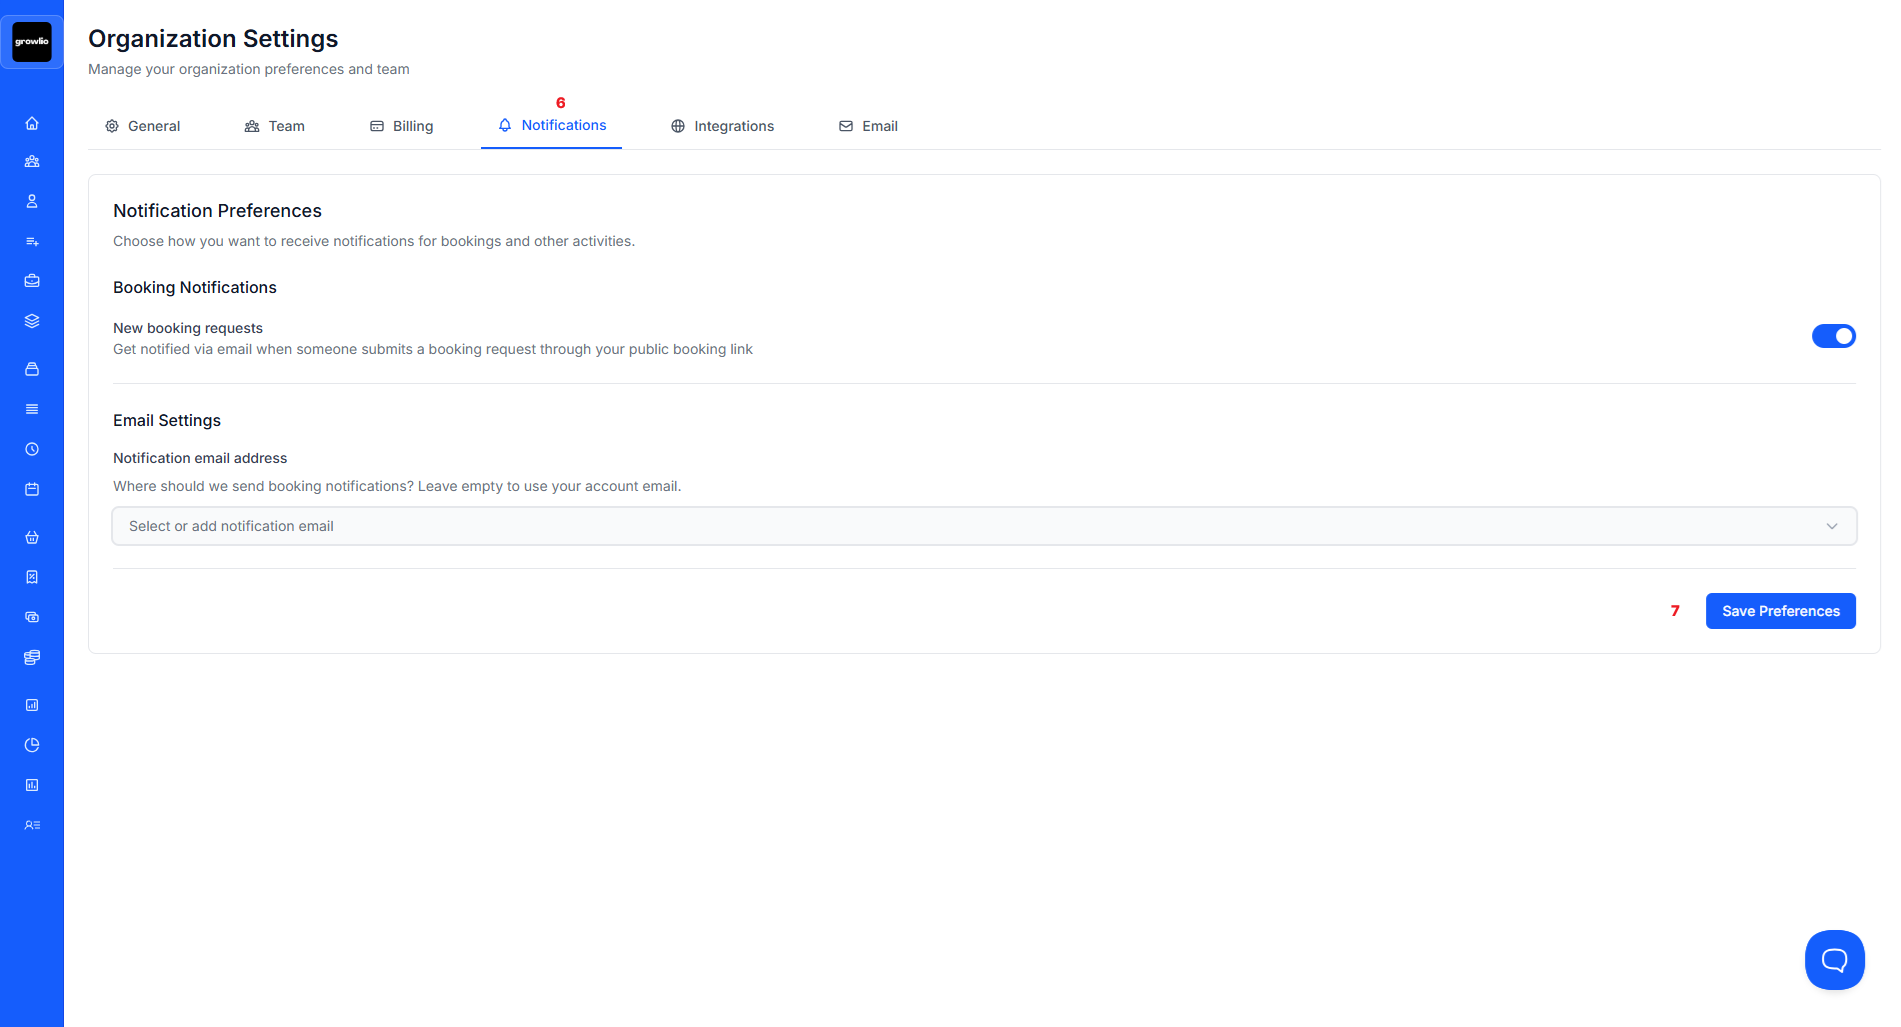
Tip: Enable notifications for critical events like proposal acceptances and contract signings, but disable low-priority alerts.
Step 7: Review and Save All Settings
Go through each tab one final time to ensure all configurations are correct. Click "Save Changes" at the bottom of each section to preserve your settings.
Tips & Best Practices
- Complete all settings configuration before inviting team members
- Keep a document listing your chosen settings for reference
- Review settings quarterly as your business evolves
- Test document output after changing branding to ensure it looks professional
- Coordinate timezone settings with your team's primary location
- Use consistent terminology across all template settings
- Enable security features even if they seem inconvenient initially
- Create backup copies of custom templates before making major changes
- Document any custom integrations you configure
- Train Administrators on settings management procedures
Troubleshooting
Issue: Logo appears pixelated in documents
Solution: Upload a higher resolution logo. Use PNG format at minimum 800x800 pixels. Vector formats maintain quality at all sizes but may not be supported - convert to high-res PNG first.
Issue: Brand colors don't match expectations
Solution: Use exact hex color codes from your brand guidelines. Test colors in both light and dark modes. Some colors may appear different in printed documents versus screens.
Issue: Can't save settings changes
Solution: Ensure all required fields are filled. Check for error messages under specific fields. Verify you have Administrator or Owner permissions. Clear browser cache and try again.
Issue: Team members don't see updated settings
Solution: Settings changes require users to refresh their browser or log out and back in. Some changes apply only to new documents created after the update.
Issue: Templates missing after update
Solution: Custom templates are preserved when you update settings. If missing, check the Templates section rather than General settings. Contact support if templates disappeared unexpectedly.